
A product photography studio booking can produce a great deal for a small brand, but only if the team knows what the images must do. A catalogue thumbnail, product detail, campaign scene and social crop solve different problems. Trying to invent all four on the day wastes the time that should be spent refining light and composition. This checklist helps Leicester and East Midlands brands prepare a focused product shoot, with practical decisions about deliverables, products, styling, responsibilities and wrap.
Build the shot list from the places images will appear
Start with your shop, website, marketplace listings, email campaigns and social channels. For each product, write down the essential angle and crop. A clean front view may be vital for comparison, while a close detail explains texture or construction. Campaign images may need negative space for text. Mark which images are essential for launch and which are optional if time remains.
Group products by size, finish and background so the photographer can work through similar lighting setups together. Repeatedly changing from a reflective bottle to matte fabric and back again creates avoidable resets. If variants differ only by colour, decide whether every variant needs a full set or a smaller consistent subset. The goal is a complete, usable collection, not the longest possible list of ideas.
Prepare the actual products and their details
Inspect every item before packing it. Clean surfaces, remove unintended labels, check packaging and bring a spare when damage or handling marks are possible. Put products in the order they will be photographed and label any variants that might be confused. A tiny flaw visible in a close crop can take longer to correct later than it takes to notice before the camera is set.
Make a separate kit for product-specific needs: fasteners, supports, cleaning cloths, replacement packaging or tools required to operate an item. Agree in advance who can decide whether a product is ready for the camera and who will track completed shots. Studio hire supplies the confirmed room features, not an unlimited stock of brand-specific props or styling materials.
- Products cleaned and checked
- Variants labelled
- Approved packaging and labels ready
- Project-specific props and tools packed
Choose a visual system before styling individual scenes
Decide what should remain consistent across the collection: background family, shadow style, camera angle, scale or colour treatment. Consistency makes a shop easier to browse and gives a small brand a recognisable visual language. A mood board is useful when it explains these decisions; it is less useful when it collects attractive images that cannot sit together in one campaign.
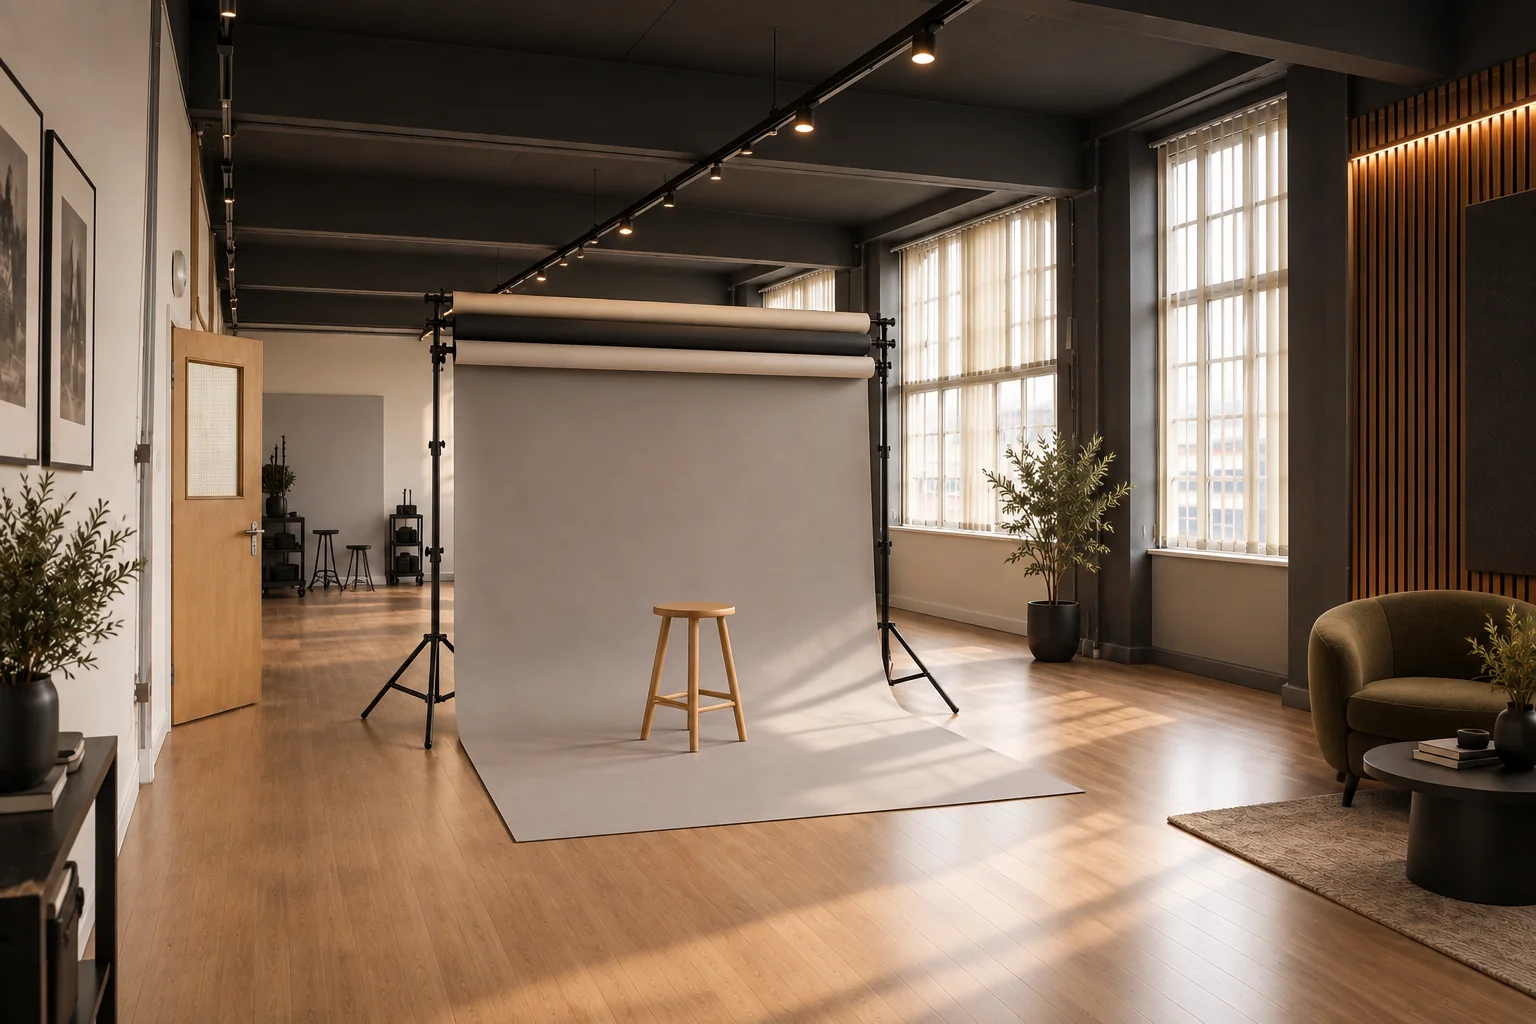
Studio A at Patmos is a flexible, light-controlled space with professional lighting and a backdrop system. It is suited to product photography as well as portraits and video. Bring the creative direction and confirm any specific backdrop or technical requirement before booking. A controlled room supports repeatability, but styling, photography and post-production remain separate production decisions.
Give the schedule room for adjustments
Product photography often looks simple until reflections, labels, textures and small positions need attention. Estimate the first setup, then allow for groups of related products, styling changes, review and wrap. Schedule your most commercially important images first. If the shoot takes longer than expected, those are the frames you cannot afford to lose.
Studio A has a two-hour minimum and is listed from £30 per hour. A small number of straightforward items may fit a shorter session, while a catalogue with many variants or styled scenes may require substantially more time. Compare the shot list with a realistic number of setups and ask your photographer to challenge the schedule before you reserve the room.
Check the collection before leaving
At planned checkpoints, compare the captured frames with the essential list. Check that labels are readable, colour differences are represented, products have a consistent apparent scale and intended crops are possible. Record any deliberate omissions. Do not leave all review to the last minute, when a missing product may require rebuilding a setup that has already been cleared.
At wrap, note who will select, edit and approve final files and where each version will be used. If the final deliverable depends on a marketplace's current image rules, check those rules separately; they are outside the studio booking. A prepared small-brand team can then use the Leicester studio time to make a coherent set of images rather than repair a missing brief.
Useful answers
Questions about planning your booking
What should I bring to a product photography studio?
Bring clean, checked products; labelled variants; approved packaging; your shot list and visual references; and any brand-specific props, supports or tools. Agree who will approve images during the session.
How much time should I book for product photography?
Count distinct lighting and styling setups as well as products, then include review and wrap. Studio A has a two-hour minimum, but a multi-product campaign may need longer.
Can I use one image for my shop and social media?
Sometimes, but plan the crops before shooting. A product listing may need a clear comparison view, while social or campaign use may need vertical framing and space for text.